


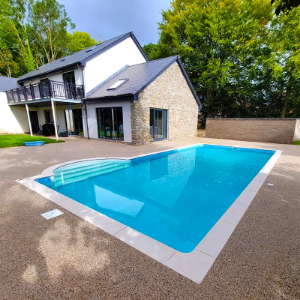
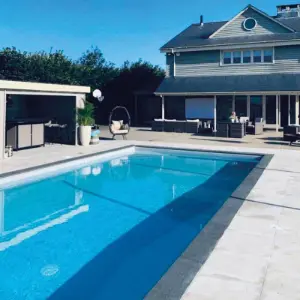
 All Swimming Pools
 DIY Pool Kits
 Endless Pools
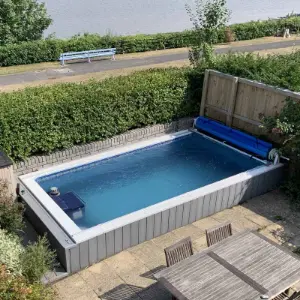
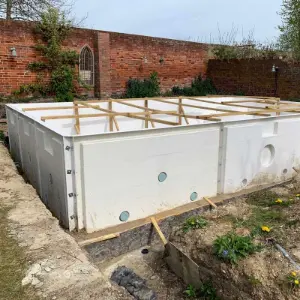 HeatForm Panel Pool Kits
 One Piece Pools
 Above Ground Pools
 All Above Ground Swimming Pools
 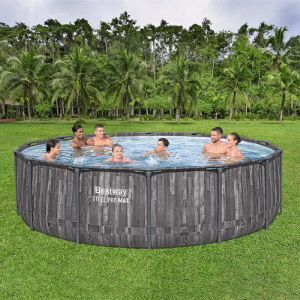 Bestway Above Ground Pools
  Steel Walled Above Ground Swimming Pools
 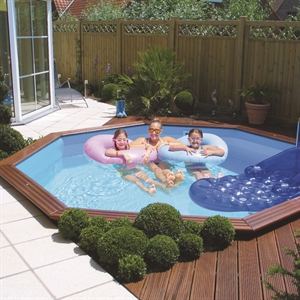 Wooden Above Ground Swimming Pools
  All Hot Tubs
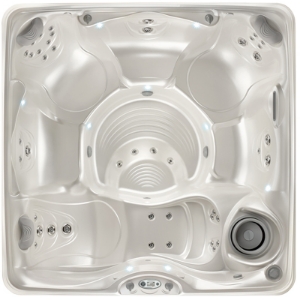
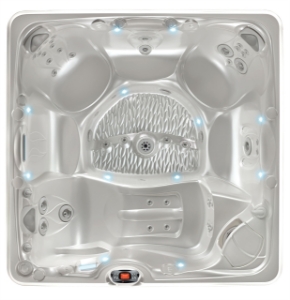
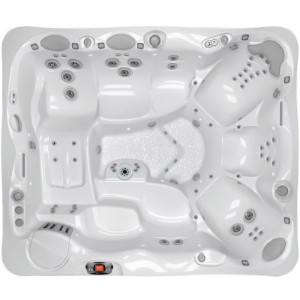
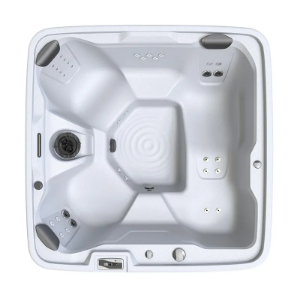
 **Stock Clearance Hot Tubs**
 Caldera Fantasy £3,495- £5,495
 All Caldera Hot Tubs £3,495 - £23,995
 Caldera Vacanza £6,995 - £10,995
 Caldera Paradise £10,995 - £14,995
 Caldera Utopia £13,995 - £23,995
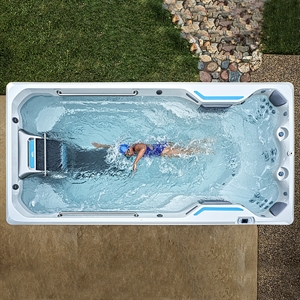 Swim Spas
 Ice Baths
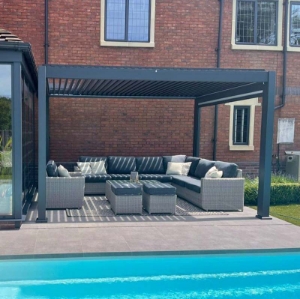 Pergolas And Umbrellas
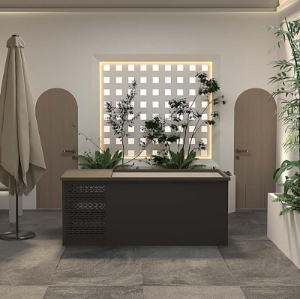
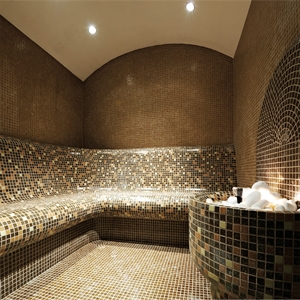 Home Spa & Steam
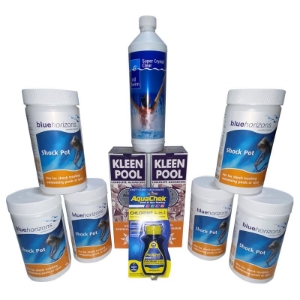
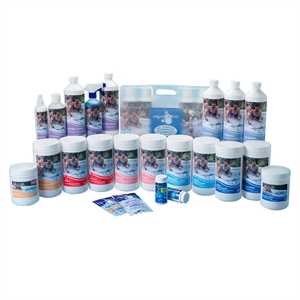 Hot Tub Chemicals
 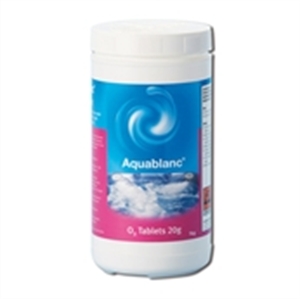 Aquablanc Non-Chlorine System
 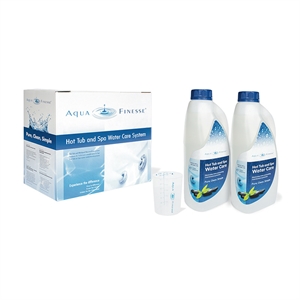 Aquafinesse
 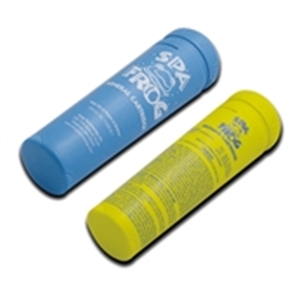 Spa Frog System
 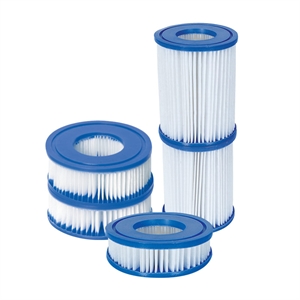 Filter Cartridges
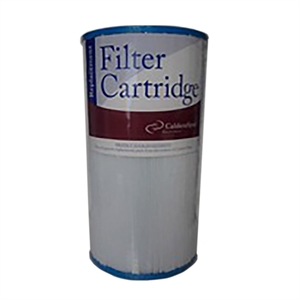 Caldera Hot Tub Filter Cartridges
 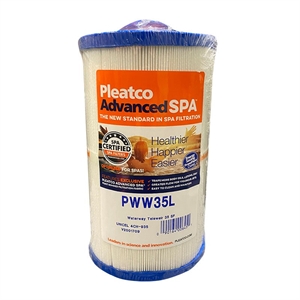 Cove Spas Filter Cartridges
 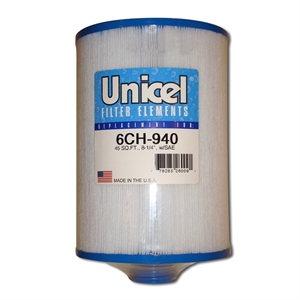 Catalina Hot Tub Filter Cartridges
 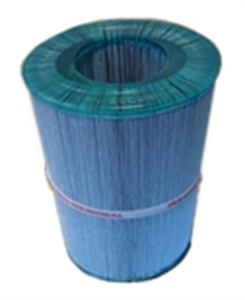 DreamMaker Hot Tub Filter Cartridges
 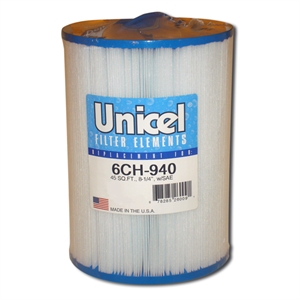 Endless Pools Swim Spa Filter Cartridges
 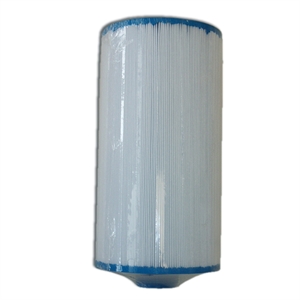 Eurospa Hot Tub Filter Cartridges
 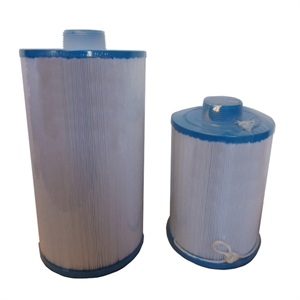 Fantasy Hot Tub Filter Cartridges
 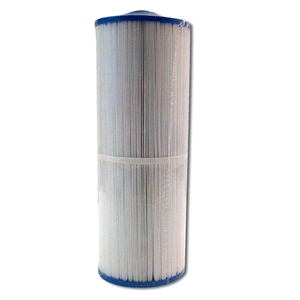 Garden Leisure Hot Tub Filter Cartridges
  Hydropool Hot Tub Filter Cartridges
  Intex Hot Tub Filter Cartridges
  Lay-Z-Spa Hot Tub Filter Cartridges
  Spaform Hot Tub Filter Cartridges
 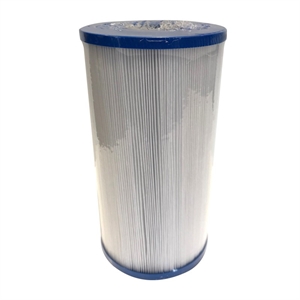 Week End Spas Filter Cartridges
 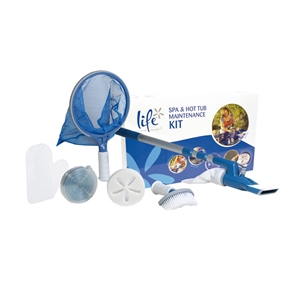 Cleaning & Maintenance
 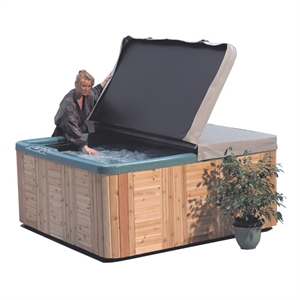 Replacement Hot Tub Covers
 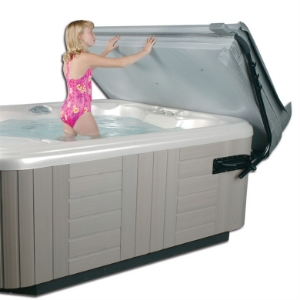 Steps And Cover Lifters
 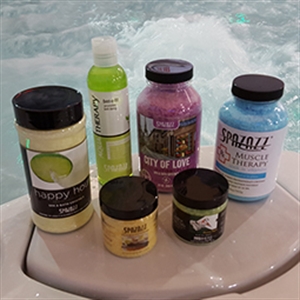 Hot Tub Fragrances
 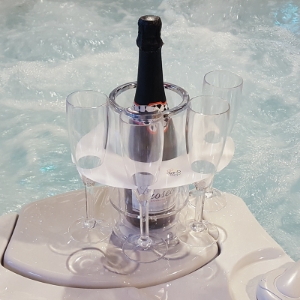 Drinkware
 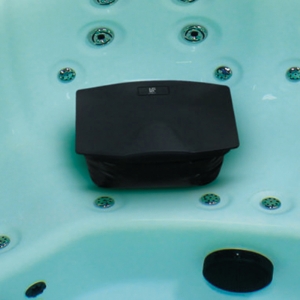 Hot Tub Accessories
  All Products
 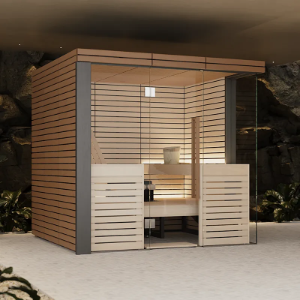 Saunas & Accessories
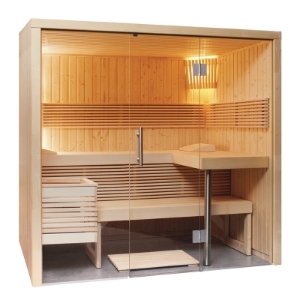 All Saunas
 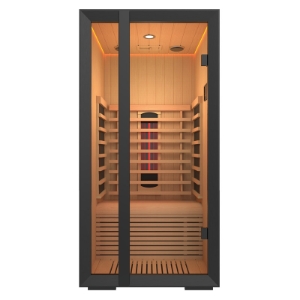 Infrared Saunas
 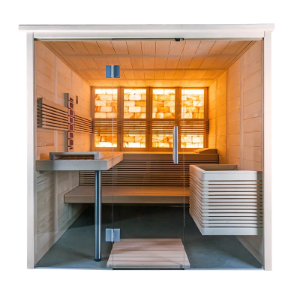 Indoor Saunas
 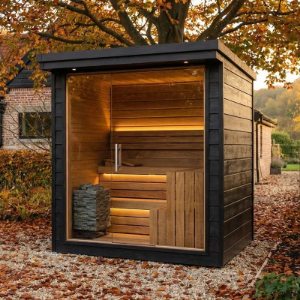 Outdoor Saunas
 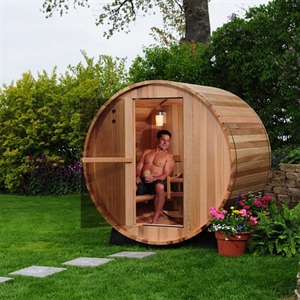 Barrel Saunas
 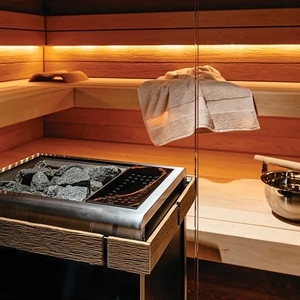 Sauna Accessories
 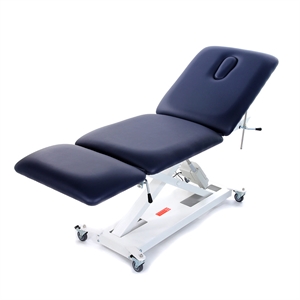 Affinity Massage Tables
 All Massage Tables
 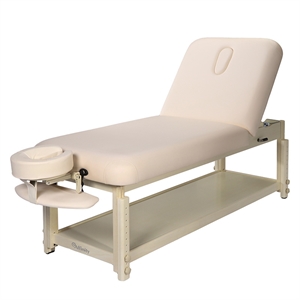 Static Couches
 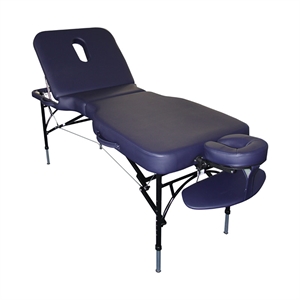 Portable Massage Tables
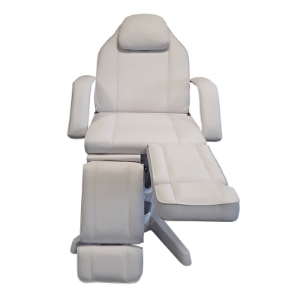
 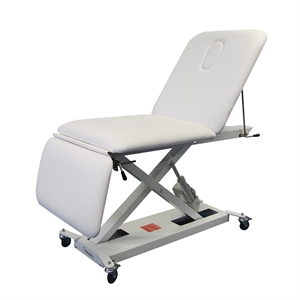 Motorised Massage Tables
 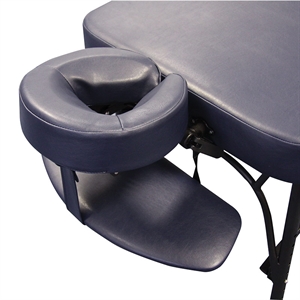 Massage Table Upgrade Options
 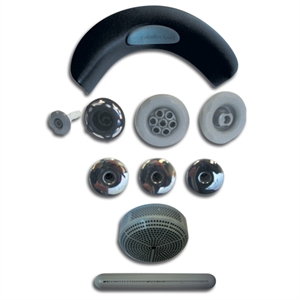 Replacement Spa Parts
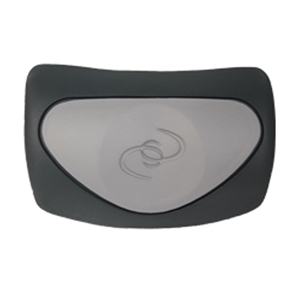 Replacement Head Rests
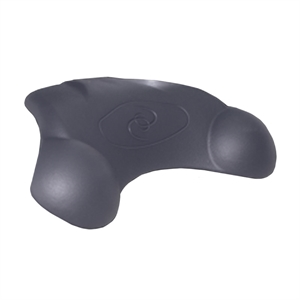 Caldera Replacement Head Rests
  Replacement Jets
 Eurospa Jets
  Replacement Air Blowers
  Complete Spa Packs
  Panel Overlays and Topside Controls
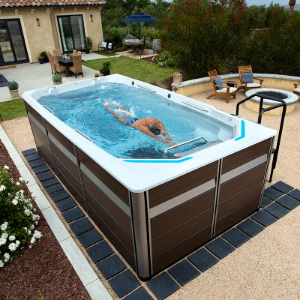
 Swimming Pool Spring Opening Chemicals
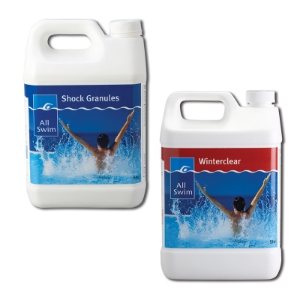 Swimming Pool Winterising Chemicals
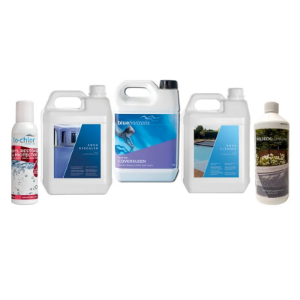
 Chlorine Water Treatment
 Bayrol
 Non-Chlorine Water Treatment
 Water Balance
 Phosphate Removers
 Algicides, Clarifiers & Cleaners
 Lo-Chlor Speciality Chemicals
 Waterline Cleaning
 Poolside Cleaning
 Filter Cleaning
 Cover Cleaning
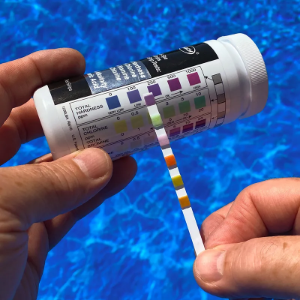
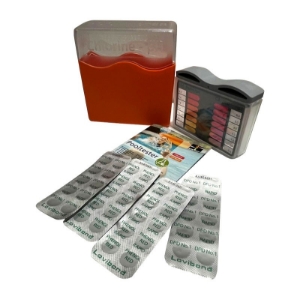 Water Testing
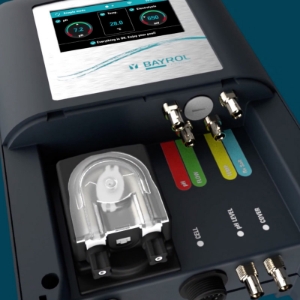 Dosing Systems
 Liquid Pool Covers
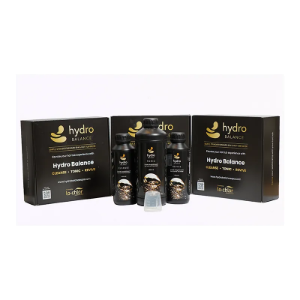
 Hot Tub Chemicals
 Hot Tub Chemical Starter Kits
  All Hot Tub Chemicals
 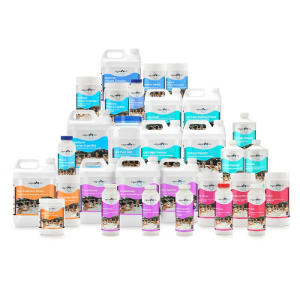 Aquasparkle
  Gold Horizons
  Aquablanc
  Aquafinesse
 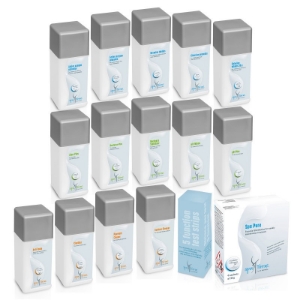 Bayrol SpaTime
  Freshwater Salt System
  O2 Gentle
  Spa Frog System
  Hot Tub Fragrances
  Poolside Fun
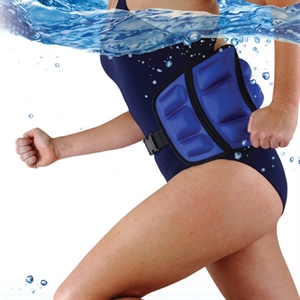
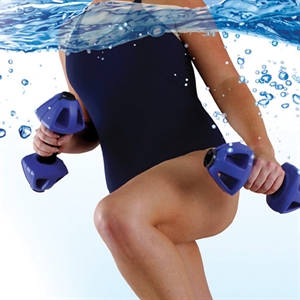
 Aqua Fitness
 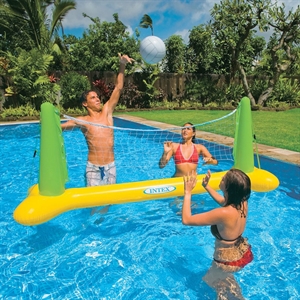 Pool Games & Inflatables
  Diving Boards & Slides
  Drinkware
 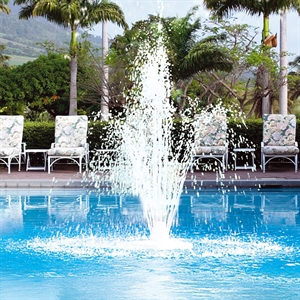 Water Fountains
  Ledge Poolside Furniture
  Above Ground Pool Ladders
  Above Ground Pool Liners
 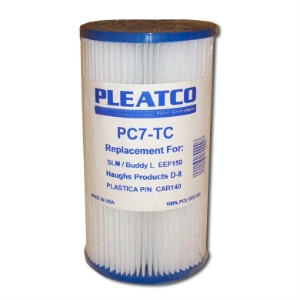 Above Ground Pool Filters & Filter Cartridges
  Gas Boilers
  Electric Swimming Pool Heaters
 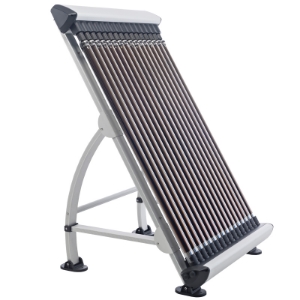 Solar Heating
 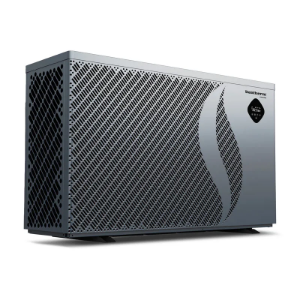 Heat Pumps
  Heat Exchangers
  Dehumidifiers & Ducted Heat Recovery Systems
  Vacuum Equipment, Leaf Nets & Brushes
  Automatic Pool Cleaners & Spares
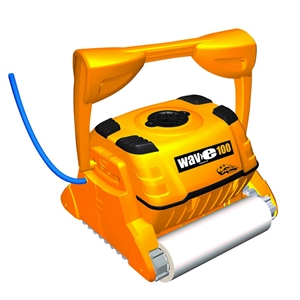 Commercial Automatic Pool Cleaners
 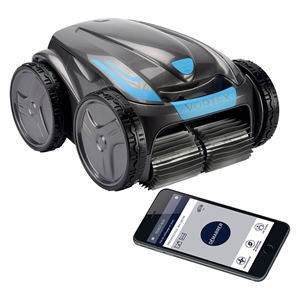 Domestic Automatic Pool Cleaners
 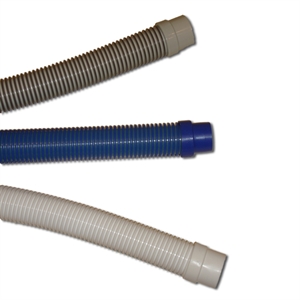 Automatic Pool Cleaner Spares
  Thermometers
  Pool Repairs
  Waterline Cleaning
  Liners
 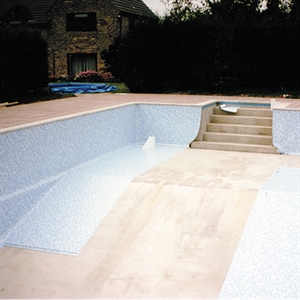 On-Site Linings
  Underlay
  Liner Accessories
 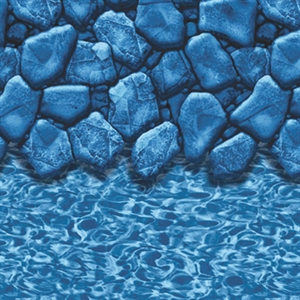 Above Ground Pool Liners
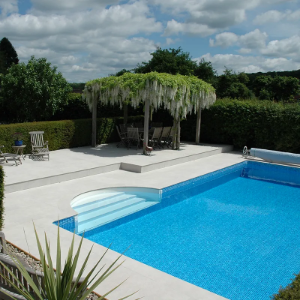
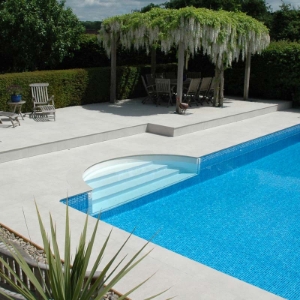
 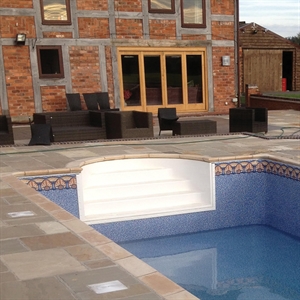 Walk In Pool Steps
 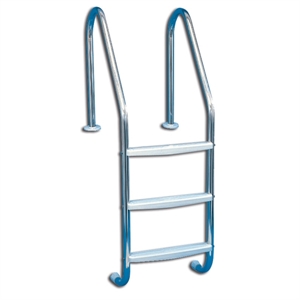 Pool Ladders
 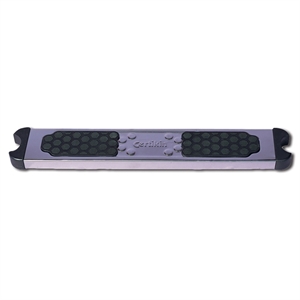 Ladder Replacement Parts
  Above Ground Pool Ladders
 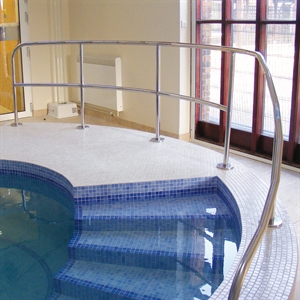 Bespoke Ladders & Handrails
 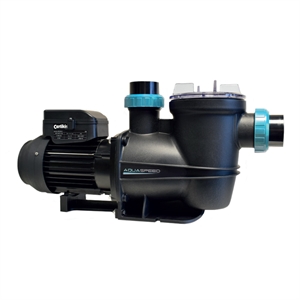 Swimming Pool Pumps
 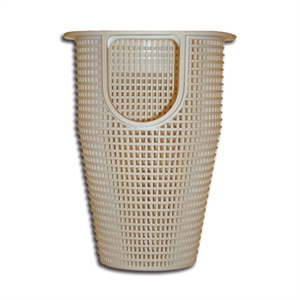 Pump Spares
  Pre-Filtration
  Filters
  Swimming Pool Filter Media
 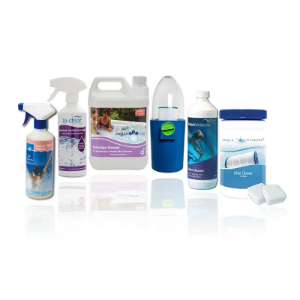 Filter Cleaning
 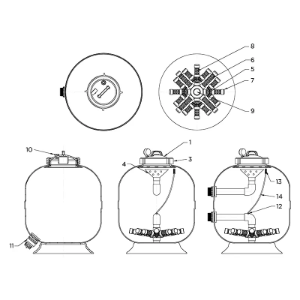 Filter Spares
  Filter Accessories
  Replacement Filter Cartridges
  Swimming Pool Shell Fittings
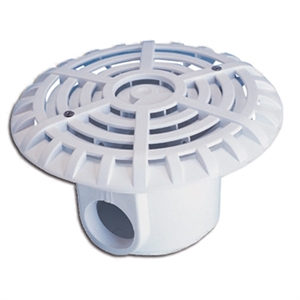 Pool Shell Fittings
 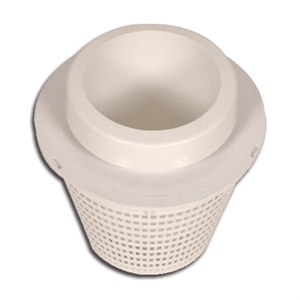 Skimmer & Main Drain Spares
 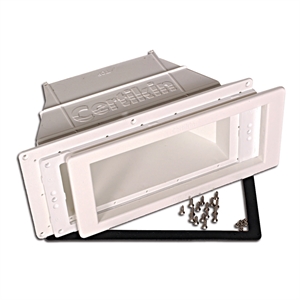 Cover Plates & Gaskets
 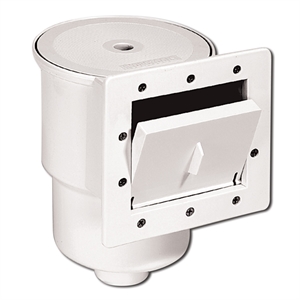 Above Ground Pool Skimmers
  Pipes & Fittings
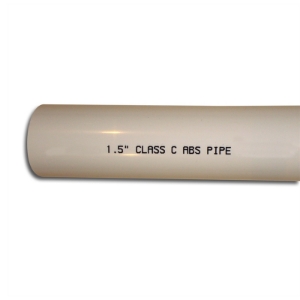 ABS Imperial Pipe & Fittings
  PVC Metric Pipe & Fittings
  Flexible Pipe & Fittings
  Valves
  Counter Current Pool Systems
 iGarden InverJet Retrofit Countercurrent System
 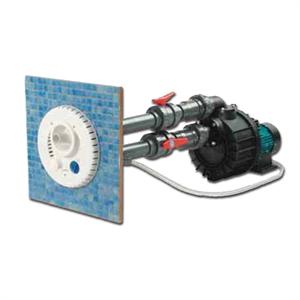 Espa Counter Current Swim Jets
 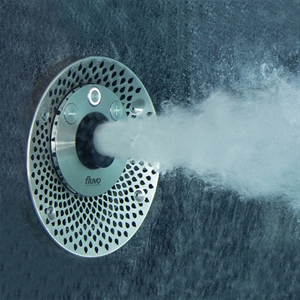 Fluvo Counter Current System
 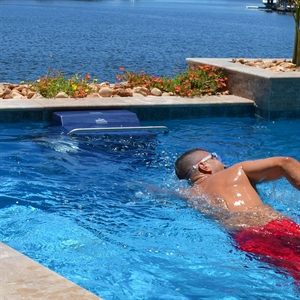 Endless Pools Fastlane
  Concrete Swimming Pool Finishes
 Pool Paint
 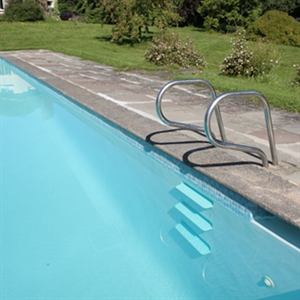 Pacelite
  Swimming Pool Mosaic Tiles
 Ardex Tanking, Tile Grout & Adhesive
 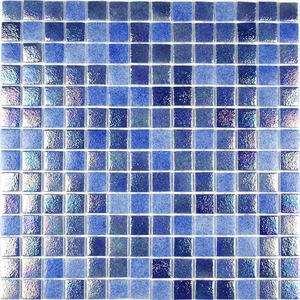 Classic Glass Tiles
 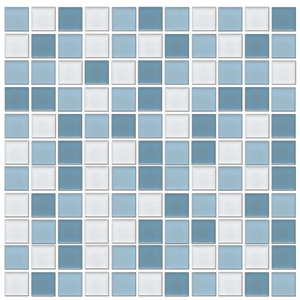 Ceramic Pool Tiles
 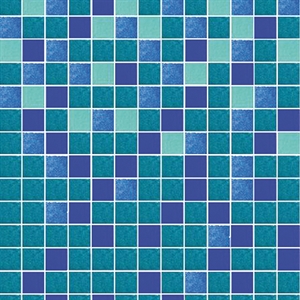 Graduating Fade Tiles
  Mosaic Tiles Design Motifs
 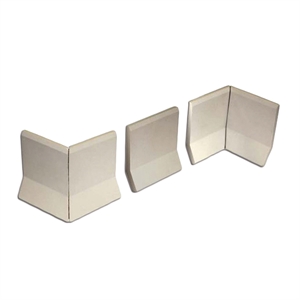 Edging Tiles
  Underwater Lights
 Swim Lane Marking Equipment
 Coping Stones
 Individual Coping Stones
  Coping Stones Kits
  Poolside Drainage
 Easy Drain Plus
  Overflow Grating
 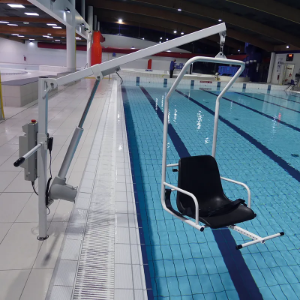 Swimming Pool Hoists
 Poolside Safety
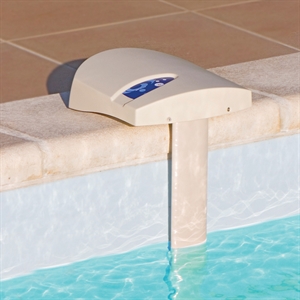 Pool Alarms
 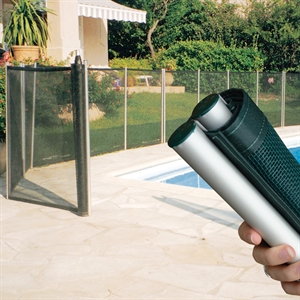 Swimming Pool Safety Fencing
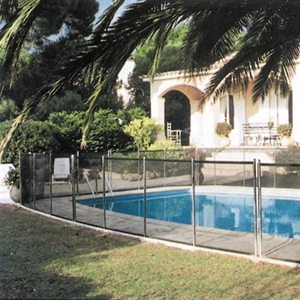
 Rollaway Safety Fencing
 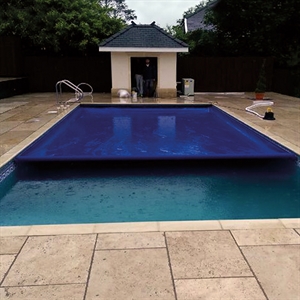 Swimming Pool Safety Covers
 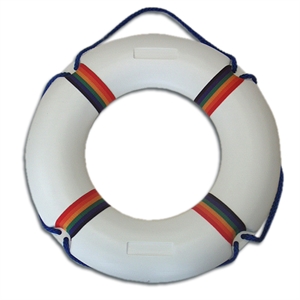 Swimming Pool Lifesaving Equipment
  Showers & Water Features
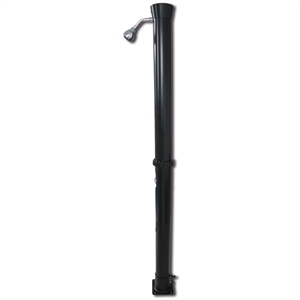 Solar Showers
 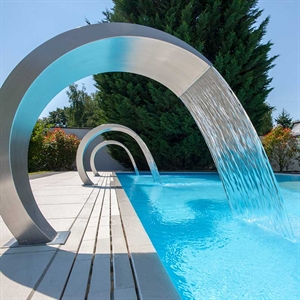 Water Features
  Pool Buildings
 Poolside Fun
 Aqua Fitness
  Pool Games & Inflatables
  Diving Boards & Slides
  Drinkware
  Water Fountains
  Poolside Furniture
 Primo Ceramic Grills
 Solar Covers for Outdoor Pools
 Indoor Pool Covers
 Automatic Slatted Covers
 Safety Covers
 Winter Debris Covers
 Above Ground Pool Covers
 Reel Systems & Leading Edges
 Reel Protective Covers
 Cover & Reel Replacement Parts
 Liquid Pool Covers
 Poolside Fun
 Aqua Fitness
  Pool Games & Inflatables
 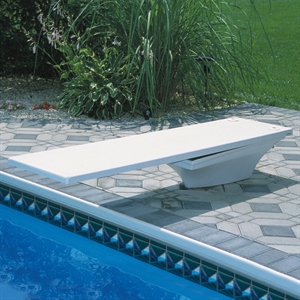 Diving Boards & Slides
  Drinkware
  Water Fountains
 All Special Offers
 Pool Equipment Special Offers
 Hot Tub & Sauna Special Offers
 Chemical Special Offers
 Cover & Roller Special Offers
 Poolside & Safety Special Offers
FREE CATALOGUE
Request an all swim catalogue


 Hot Tub Accessories
 Hot Tub Chemicals
 Above Ground Pool Accessories
 Pool Heating & Ventilation
 Cleaning & Maintenance
 Swimming Pool Liners & Underlay
 Step Units & Steps
 Swimming Pool Pumps
 Swimming Pool Filters

Click here to view our blog for advice on What Solar Cover Should I Choose?
IF YOUR POOL SIZE IS NON STANDARD OR NOT LISTED PLEASE CLICK HERE .