


 All Swimming Pools
 DIY Pool Kits
 Endless Pools
 HeatForm Panel Pool Kits
 One Piece Pools
 Above Ground Pools
 All Above Ground Swimming Pools
  Steel Walled Above Ground Swimming Pools
  Wooden Above Ground Swimming Pools
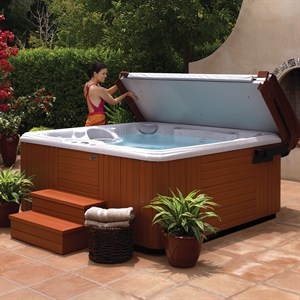
 All Hot Tubs
 **Stock Clearance Hot Tubs**
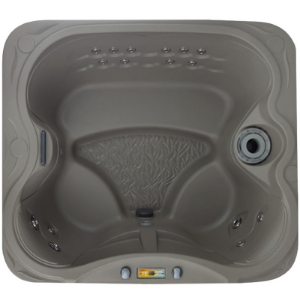 Caldera Fantasy £3,195- £5,795
 All Caldera Hot Tubs £6,995 - £26,695
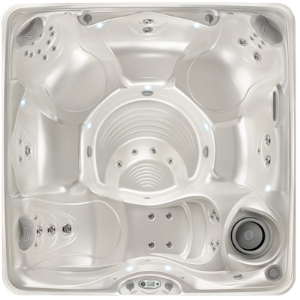 Caldera Vacanza £6,995 - £11,995
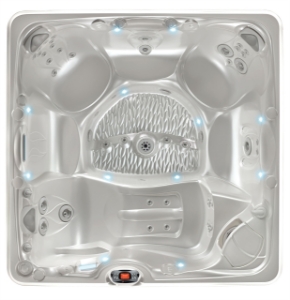 Caldera Paradise £11,495 - £15,995
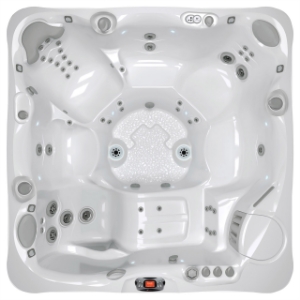
 Caldera Utopia £14,995 - £26,695
 Swim Spas
 Ice Baths
 Pergolas And Umbrellas
 Home Spa & Steam
 Hot Tub Accessories
 Hot Tub Chemicals
 Hot Tub Chemicals
  Aquablanc Non-Chlorine System
  Aquafinesse
  Spa Frog System
  Filter Cartridges
 Caldera Hot Tub Filter Cartridges
  Cove Spas Filter Cartridges
  Catalina Hot Tub Filter Cartridges
  DreamMaker Hot Tub Filter Cartridges
  Endless Pools Swim Spa Filter Cartridges
 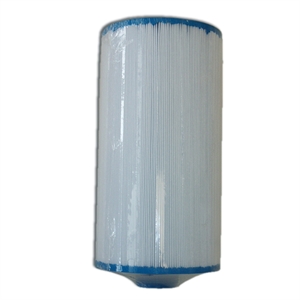 Eurospa Hot Tub Filter Cartridges
 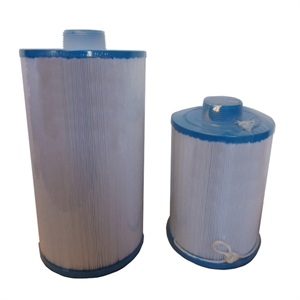 Fantasy Hot Tub Filter Cartridges
 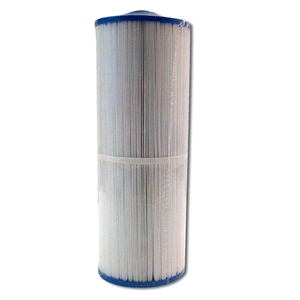 Garden Leisure Hot Tub Filter Cartridges
 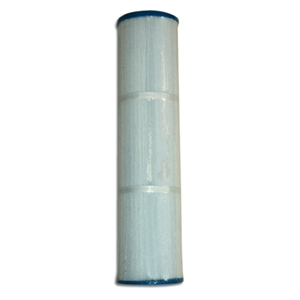 Hydropool Hot Tub Filter Cartridges
 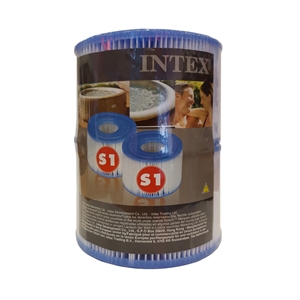 Intex Hot Tub Filter Cartridges
  Lay-Z-Spa Hot Tub Filter Cartridges
 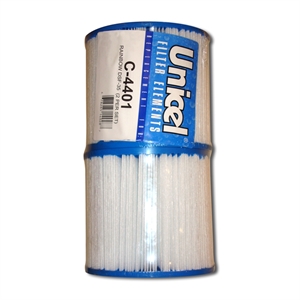 Spaform Hot Tub Filter Cartridges
  Week End Spas Filter Cartridges
  Cleaning & Maintenance
  Replacement Hot Tub Covers
  Steps And Cover Lifters
  Hot Tub Fragrances
  Drinkware
  Hot Tub Accessories
  All Products
 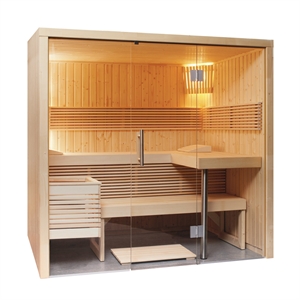 Saunas & Accessories
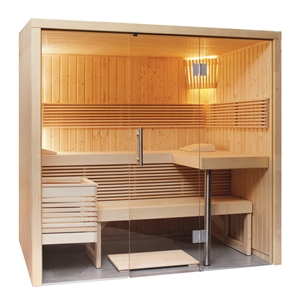 Saunas
 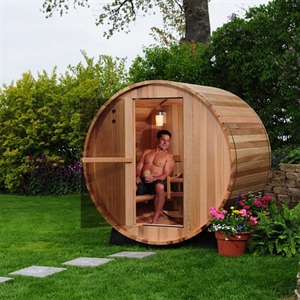 Barrel Saunas
 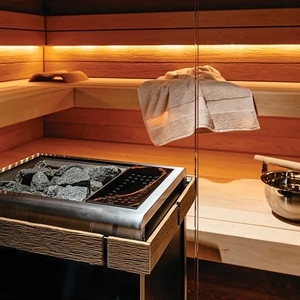 Sauna Accessories
 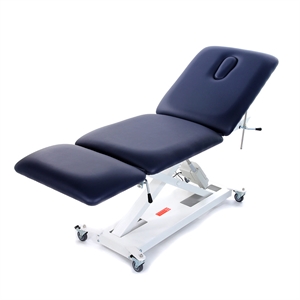 Affinity Massage Tables
 All Massage Tables
 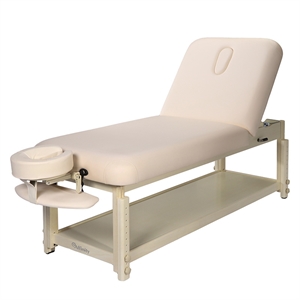 Static Couches
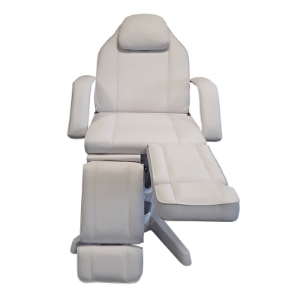
 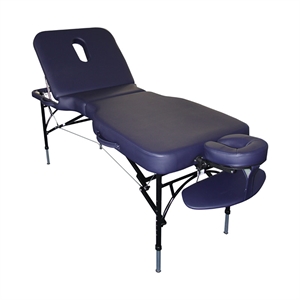 Portable Massage Tables
 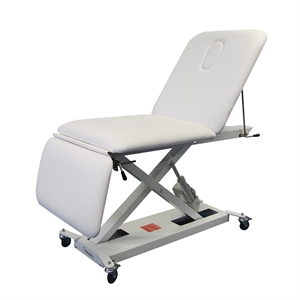 Motorised Massage Tables
  Massage Table Upgrade Options
 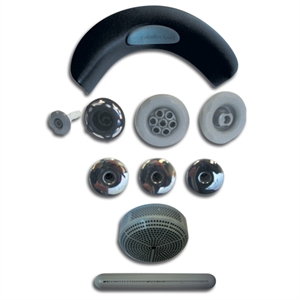 Replacement Spa Parts
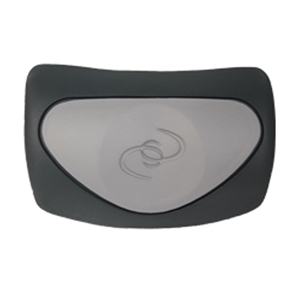 Replacement Head Rests
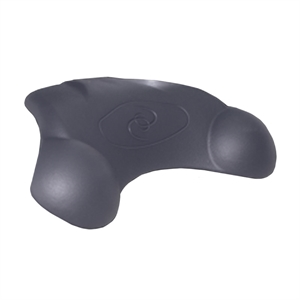 Caldera Replacement Head Rests
 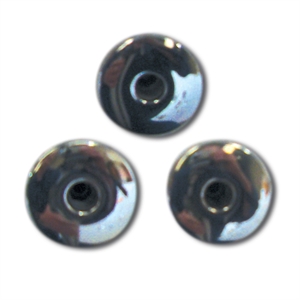 Replacement Jets
 Spaform Classic 1 Jets
  Spaform Prestige Jets
  Eurospa Jets
 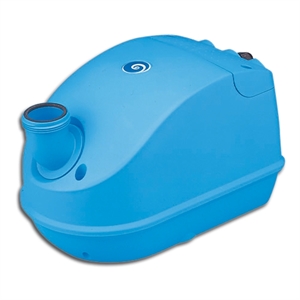 Replacement Air Blowers
 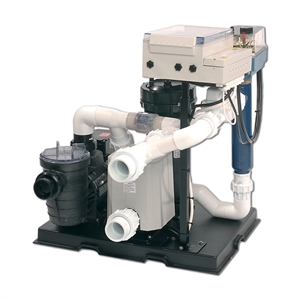 Complete Spa Packs
  Panel Overlays and Topside Controls
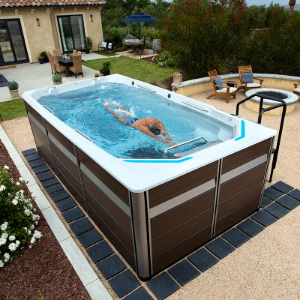


 Swimming Pool Spring Opening Chemicals
 Swimming Pool Winterising Chemicals
 Chlorine Water Treatment
 Bayrol
 Non-Chlorine Water Treatment
 Water Balance
 Phosphate Removers
 Algicides, Clarifiers & Cleaners
 Lo-Chlor Speciality Chemicals
 Waterline Cleaning
 Poolside Cleaning
 Filter Cleaning
 Cover Cleaning
 Water Testing
 Dosing Systems
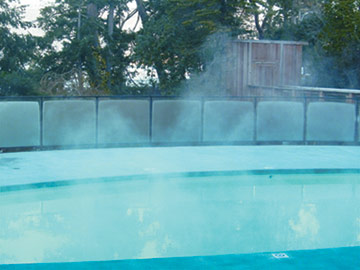
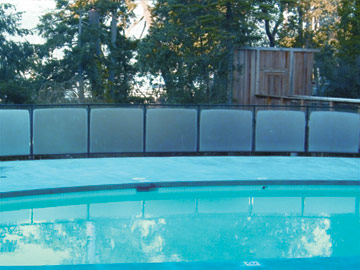
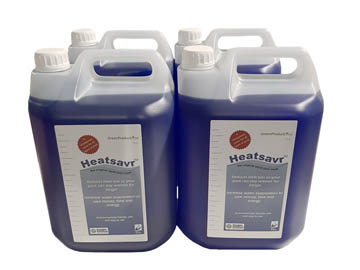
 Liquid Pool Covers
 Hot Tub Chemicals
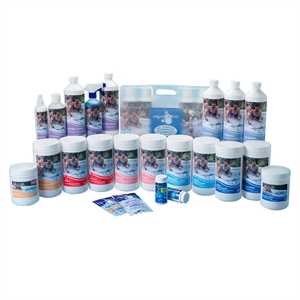
 Hot Tub Chemical Starter Kits
  All Hot Tub Chemicals
  Aquasparkle
  Gold Horizons
  Aquablanc
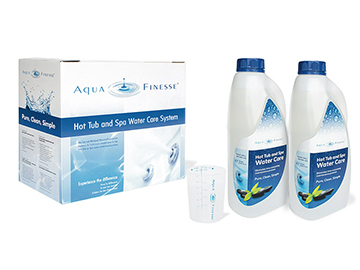
  Aquafinesse
  Bayrol SpaTime
  Freshwater Salt System
  O2 Gentle
  Spa Frog System
  Hot Tub Fragrances
  Poolside Fun
 Aqua Fitness
  Pool Games & Inflatables
  Diving Boards & Slides
  Drinkware
  Water Fountains
  Ledge Poolside Furniture
 Above Ground Pool Accessories
 Above Ground Pool Ladders
  Above Ground Pool Liners
  Above Ground Pool Filters & Filter Cartridges
  Pool Heating & Ventilation
 Gas Boilers
  Oil Boilers
  Electric Swimming Pool Heaters
  Solar Heating
  Heat Pumps
  Heat Exchangers
  Dehumidifiers & Ducted Heat Recovery Systems
  Cleaning & Maintenance
 Vacuum Equipment, Leaf Nets & Brushes
  Automatic Pool Cleaners & Spares
 Commercial Automatic Pool Cleaners
  Domestic Automatic Pool Cleaners
  Automatic Pool Cleaner Spares
  Thermometers
  Pool Repairs
  Waterline Cleaning
  Swimming Pool Liners & Underlay
 Liners
 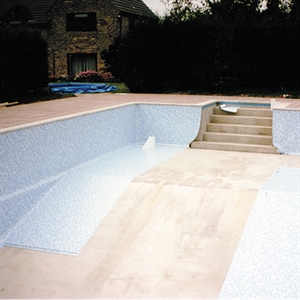 On-Site Linings
 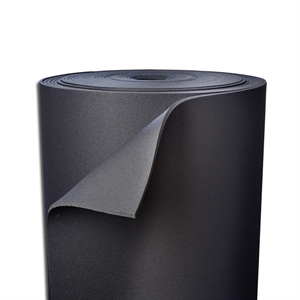 Underlay
 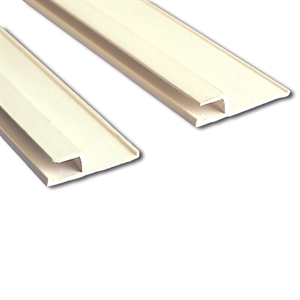 Liner Accessories
  Above Ground Pool Liners
  Step Units & Steps
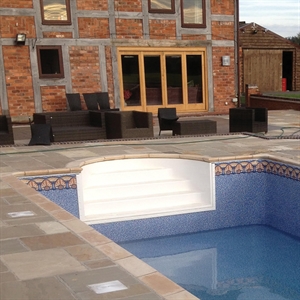 Walk In Pool Steps
 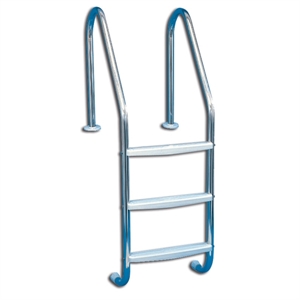 Pool Ladders
  Ladder Replacement Parts
  Above Ground Pool Ladders
  Bespoke Ladders & Handrails
  Swimming Pool Pumps
 Swimming Pool Pumps
  Pump Spares
  Swimming Pool Filters
 Pre-Filtration
  Filters
  Swimming Pool Filter Media
  Filter Cleaning
  Filter Accessories
  Replacement Filter Cartridges
  Swimming Pool Shell Fittings
 Pool Shell Fittings
  Skimmer & Main Drain Spares
  Cover Plates & Gaskets
 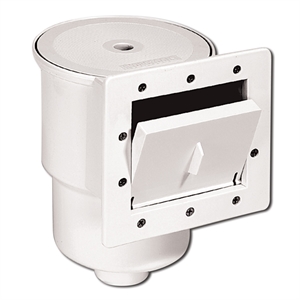 Above Ground Pool Skimmers
  Pipes & Fittings
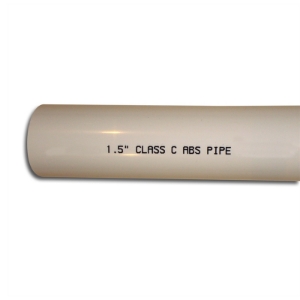 ABS Imperial Pipe & Fittings
 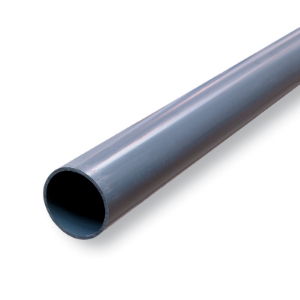 PVC Metric Pipe & Fittings
 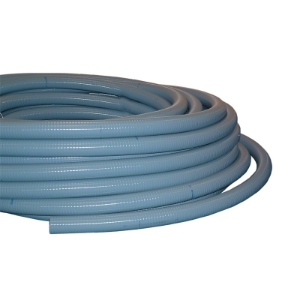 Flexible Pipe & Fittings
  Valves
  Counter Current Pool Systems
 iGarden InverJet Retrofit Countercurrent System
  Espa Counter Current Swim Jets
  Fluvo Counter Current System
 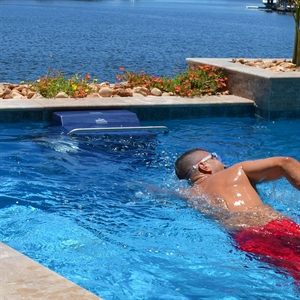 Endless Pools Fastlane
  Concrete Swimming Pool Finishes
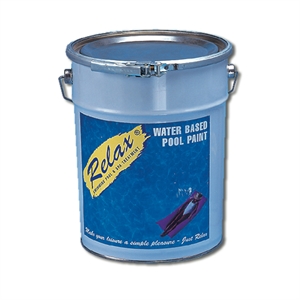 Pool Paint
 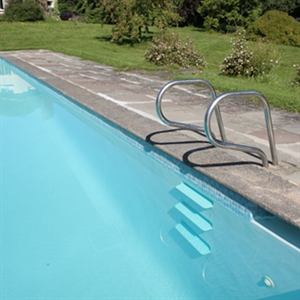 Pacelite
  Swimming Pool Mosaic Tiles
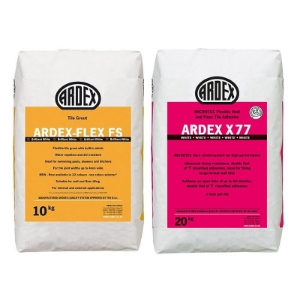 Ardex Tanking, Tile Grout & Adhesive
 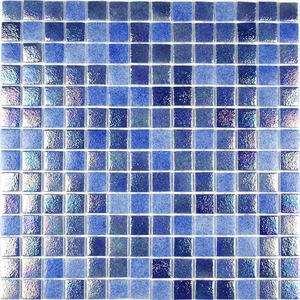 Classic Glass Tiles
 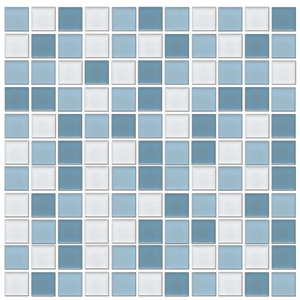 Ceramic Pool Tiles
 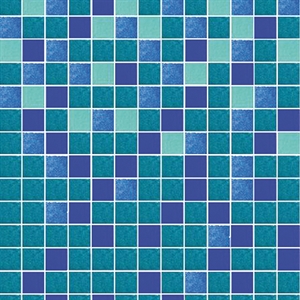 Graduating Fade Tiles
  Mosaic Tiles Design Motifs
  Edging Tiles
  Underwater Lights
 Swim Lane Marking Equipment
 Poolside Surrounds
 Coping Stones
 Individual Coping Stones
  Coping Stones Kits
  Poolside Drainage
 Easy Drain Plus
  Overflow Grating
 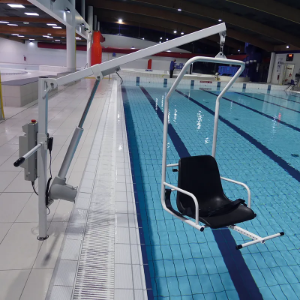 Swimming Pool Hoists
 Poolside Safety
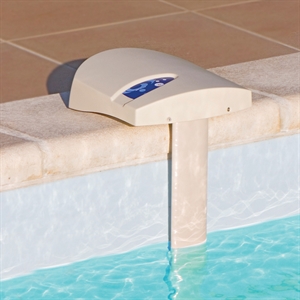 Pool Alarms
 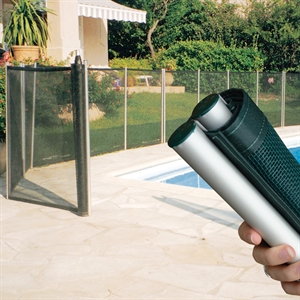 Swimming Pool Safety Fencing
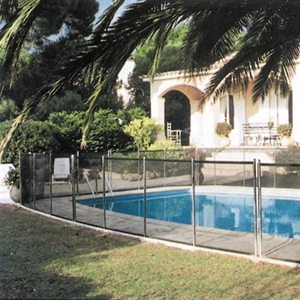 Rollaway Safety Fencing
 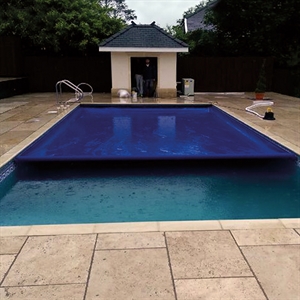 Swimming Pool Safety Covers
 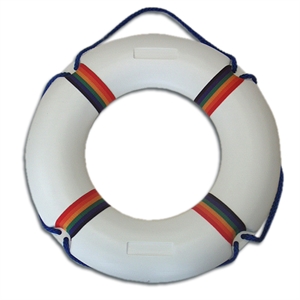 Swimming Pool Lifesaving Equipment
  Showers & Water Features
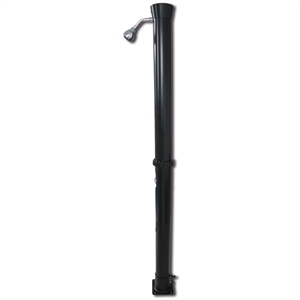 Solar Showers
 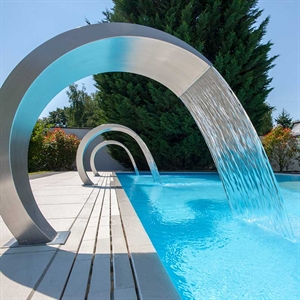 Water Features
  Pool Buildings
 Poolside Fun
 Aqua Fitness
  Pool Games & Inflatables
  Diving Boards & Slides
  Drinkware
  Water Fountains
  Poolside Furniture
 Primo Ceramic Grills
 Solar Covers for Outdoor Pools
 Indoor Pool Covers
 Automatic Slatted Covers
 Safety Covers
 Winter Debris Covers
 Above Ground Pool Covers
 Reel Systems & Leading Edges
 Reel Protective Covers
 Cover & Reel Replacement Parts
 Liquid Pool Covers
 Poolside Fun
 Aqua Fitness
  Pool Games & Inflatables
 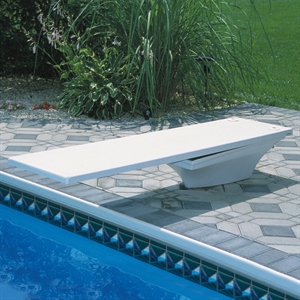 Diving Boards & Slides
  Drinkware
  Water Fountains
 All Special Offers
 Pool Equipment Special Offers
 Hot Tub & Sauna Special Offers
 Chemical Special Offers
 Cover & Roller Special Offers
 Poolside & Safety Special Offers
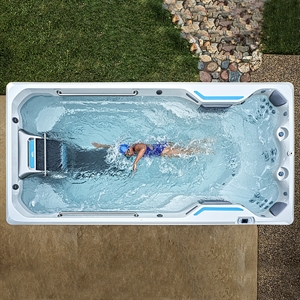
So what exactly is the Endless Pools Fastlane?
 The Fastlane is a powerful, counter current system that delivers a smooth, even swim current to your swimming pool. It has a fully adjustable swim pace from zero to a 1 minute 10 second hundred yard pace (1 minute 16 second/100 meters) and allows you to swim in place without the need to turn. It’s perfect for converting any small pool into a home fitness system.
How does the Fastlane work?
The Fastlane consists of two parts, a hydraulic power unit and a swim unit. The 5Hp power unit is usually located remotely with other pool equipment and provides power to the swim unit via two hydraulic hoses, utilising biodegradable vegetable based hydraulic fluid. The swim unit mounts pool side. Inside the swim unit is a special, sealed stainless steel hydraulic motor that turns a custom designed 16” (40cm) propeller. Water entering the base of the unit travels through a unique channelling system that helps straighten the swim current and removes any turbulence from the water before being delivered through the final smoothing grill at the front of the unit.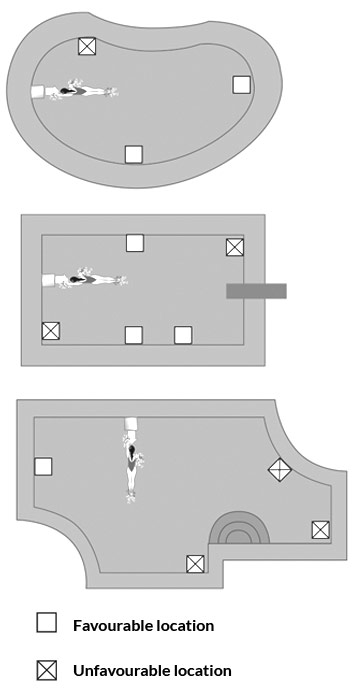
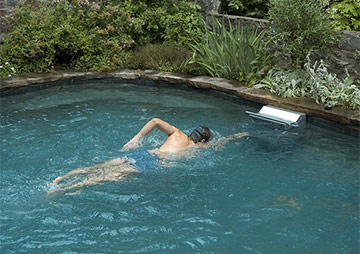
How do I use the Fastlane?
Using a Fastlane is incredibly straightforward. Simply position yourself in front of the swim unit so that you can swim into the current and then turn the unit on by pressing the on/off switch button on the remote control fob. Once you are comfortable with the swimming position you can increase or decrease the speed by using the faster and slower buttons on the control fob. Remember, because you are swimming without stopping you will tire 20-30% faster than when swimming laps. To stop swimming simply press the on/off button. If you turn the unit back on, the Fastlane current will return to the last speed programmed into the remote. The Fastlane has a built-in safety timer that will automatically shut off the current after 30 minutes.
Where do I position the Fastlane in my pool?
The Fastlane can be installed in virtually any new or existing in-ground concrete, gunite, masonry, vinyl lined or fibreglass pool together with any above ground pool. Water depth can be as shallow as 35”, generally speaking, if a pool is deep enough to swim in, it’s deep enough for a Fastlane!
There are two different types of fitting systems for a Fastlane, either a deck mount or a wall mount bracket. The deck mount option is suitable for retro fitting a swim unit to an existing pool and a wall mount bracket is used for new pool builds as it is incorporated into the wall structure itself.
The swim unit must be installed no closer than 24” (61cm) from any adjacent pool wall and choosing a location that is at least 12’ (3m 65cm) from an opposing wall (see diagram opposite) will provide you with the ideal swim lane for exercising. Remember, to help ensure a turbulent free swim current it is also key to position the swim unit away from surrounding walls, benches and stairs.
Installing a wall mount Fastlane to your new pool build
The wall mount Fastlane attaches to your pool wall with the use of a special, wall mount bracket that is embedded in the pool wall. The hydraulic hoses and power unit are then hidden in the pool wall under the pool deck area leaving a clean looking installation on your pool. If you are building a new pool or significantly refurbishing an existing pool this option of mounting the Fastlane unit is ideal for you.
The minimum clearance guidelines for this type of installation are outlined below.


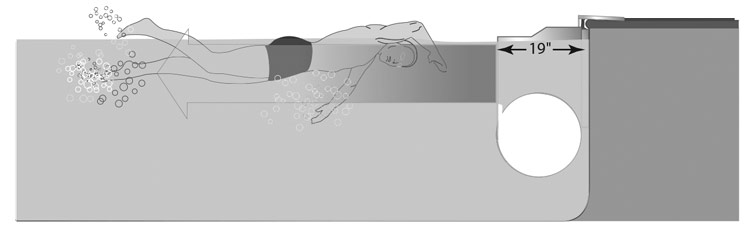
Installing a deck mount Fastlane to your existing pool
The deck mount Fastlane can be installed on any existing pool without the need to alter the wall structure. A deck mount hose cover conceals the hydraulic hoses and is secured to the deck area around your pool and you can either run the hoses along the pool deck area itself or through a trench. If you are winterising your pool the deck mount Fastlane allows you to easily remove the unit and store it over winter. The hydraulic fluid that remains in the hoses will not freeze, even in cold climates.
If you choose the deck mount Fastlane option there must be 18” (46cm) of solid decking from the pool water’s edge to the mounting site because the swim unit will need to be bolted to the pool deck. If your pool decking isn’t wide enough a small concrete pad will need to be poured to help secure the mounting bracket. Once installed the deck mount Fastlane unit extends 19” (48cm) into your pool and 18” (46cm) onto the pool deck area.
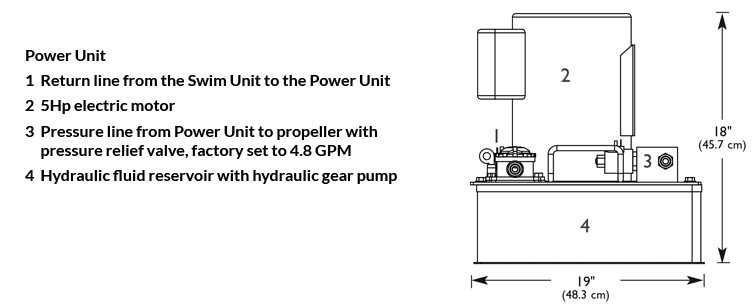
Planning the equipment placement
In addition to planning for the position of the swim unit you must also plan for the location of the hydraulic power unit. Typically this is placed next to your other pool equipment. It is important that the unit is not subjected to driving rain and it must always be placed on solid ground. The power unit is also air-cooled and must be sited with plenty of ventilation, ideally a minimum of 12” (30cm) air space must be left on all sides. In addition, although frequent access is not required it is important that the power unit is accessible once sited for the purposes of general maintenance.
The dimensions of the power unit are as follows.
Electrical requirements
It is important that the Fastlane installation complies with the National Electric Code Article 680 Swimming Pools and Similar Installations and any other applicable local codes and ordinances. The Fastlane is ETL listed, Ref.#2001770, and CE listed. A licensed electrician can help with this review and must perform all electrical work.
Below are some of the most important considerations.
Ground Fault Circuit Interrupters (GFCI)
All equipment provided by Endless Pools, Inc. and all associated pool equipment must be protected by GFCI.
These GFCI circuits must be tested monthly.
Power Unit Connections
The Fastlane requires a single 30-Amp, 220-Volt GFCI circuit to operate. An electrician must install a disconnect box within 6' of the Power Unit location.
Bonding
Both the Swim Unit and Power Unit have bonding lugs. Proper bonding with a #8 or larger solid copper wire is required.
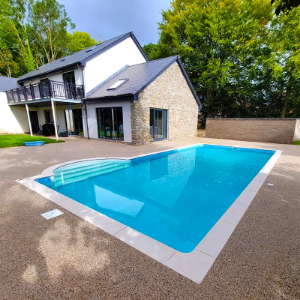
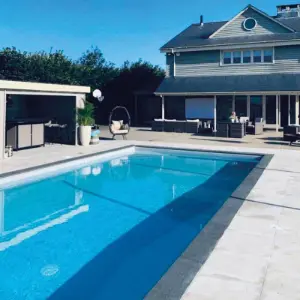
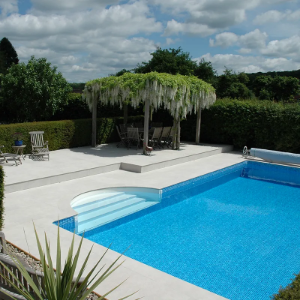
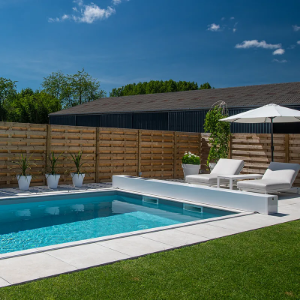
In summary, why should you build your own endless pool?
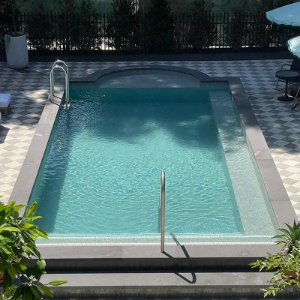
Remember, a swimming pool doesn't have to take up a vast amount of space in your garden. If space is at a premium or you don't want to lose valuable playing space for the kids you can always build your own endless pool. A modest sized, in-ground swimming pool with an Endless Pools Fastlane will create the perfect swim in place pool without the need for as much space. Instead of having to make turns while you swim, you simply swim against the Fastlane's powerful swim current. Perfect!
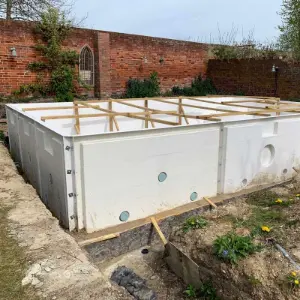
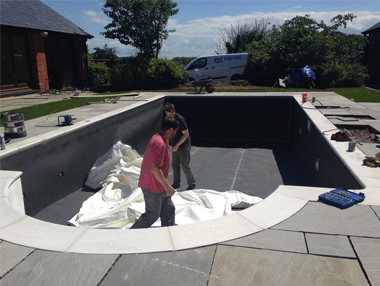 Whether you are replacing an existing pool liner or building a new liner swimming pool, once you’ve got your new liner it’s important to follow the right steps to install it.
 If you have chosen to fit a foam or felt underlay, spot the adhesive on the pool walls then fit the underlay in place. No adhesive is needed on the pool floor but cross weave tape is used over the joints.
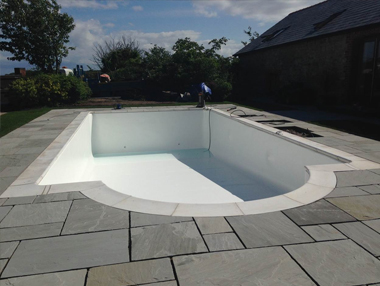 Push the suction hose down between the wall and the liner until it is approximately 1 inch (25mm) from the bottom of the wall. Make sure, if the pipework is not completed, that the ends of the pipe runs are sealed off to prevent loss of vacuum. Seal around the vacuum hose with a wet cloth or tape and the liner will be sucked to the pool walls and floor once the vacuum is switched on. Check the liner is in the correct position and if not, turn the vacuum off, adjust then restart it.
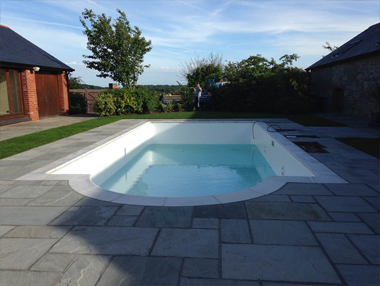 Once steps 1-5 above are thoroughly checked, fill with water until there is 6-8 inches (150mm – 200mm) in the hopper – it’s recommended you anchor the 2 shallow end corners with sandbags at this stage if you are not using a vacuum.
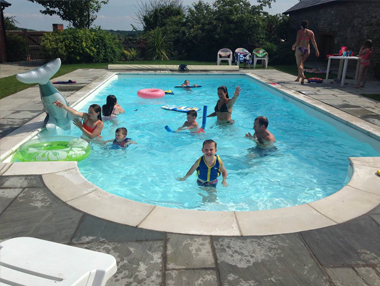 There are different types of step units but all will be supplied with a gasket and faceplate. Remove the screws around the faceplate of the step unit and take off the faceplate leaving the gasket attached to the step unit.